Illustrating Dynamic Content Marking in Microsoft Information Protection (MIP)
At Amazing Dino Consulting, we recognize the importance of data classification and protection. With the influx of data coming in and out of organizations daily, safeguarding your sensitive information is more crucial than ever. Leveraging Microsoft Information Protection (MIP) provides an efficient way to classify and protect sensitive data based on its content. In this blog post, we'll explore dynamic content marking, a feature that can automate and tailor protection measures for your documents.
What is Dynamic Content Marking?
Dynamic content marking in MIP allows organizations to automatically append specific labels, headers, footers, or watermarks to documents based on predefined variables. This provides a layer of information about the document, enhancing data governance and compliance.
How Does It Work?
When you configure a sensitivity label for content markings in MIP, you can use variables in the text string for your header, footer, or watermark. The supported variables include:
- ${Item.Label}: Label display name of the label applied. Example: General
- ${Item.Name}: File name or email subject of the content being labeled. Example: Sales.docx
- ${Item.Location}: Path and file name of the document or the email subject for an email being labeled. Example: \Sales\2023\Q3\Report.docx
- ${User.Name}: Display name of the user applying the label. Example: Richard Simone
- ${User.PrincipalName}: Azure AD user principal name (UPN) of the user applying the label. Example: test@amazingdino.testing
- ${Event.DateTime}: Date and time when the content is labeled, either in the local time zone of the user in Microsoft 365 apps or UTC for Office Online and auto-labeling policies. Example: 8/10/2023 1:30 PM
Note: The syntax for these variables is case-sensitive.
Demonstration
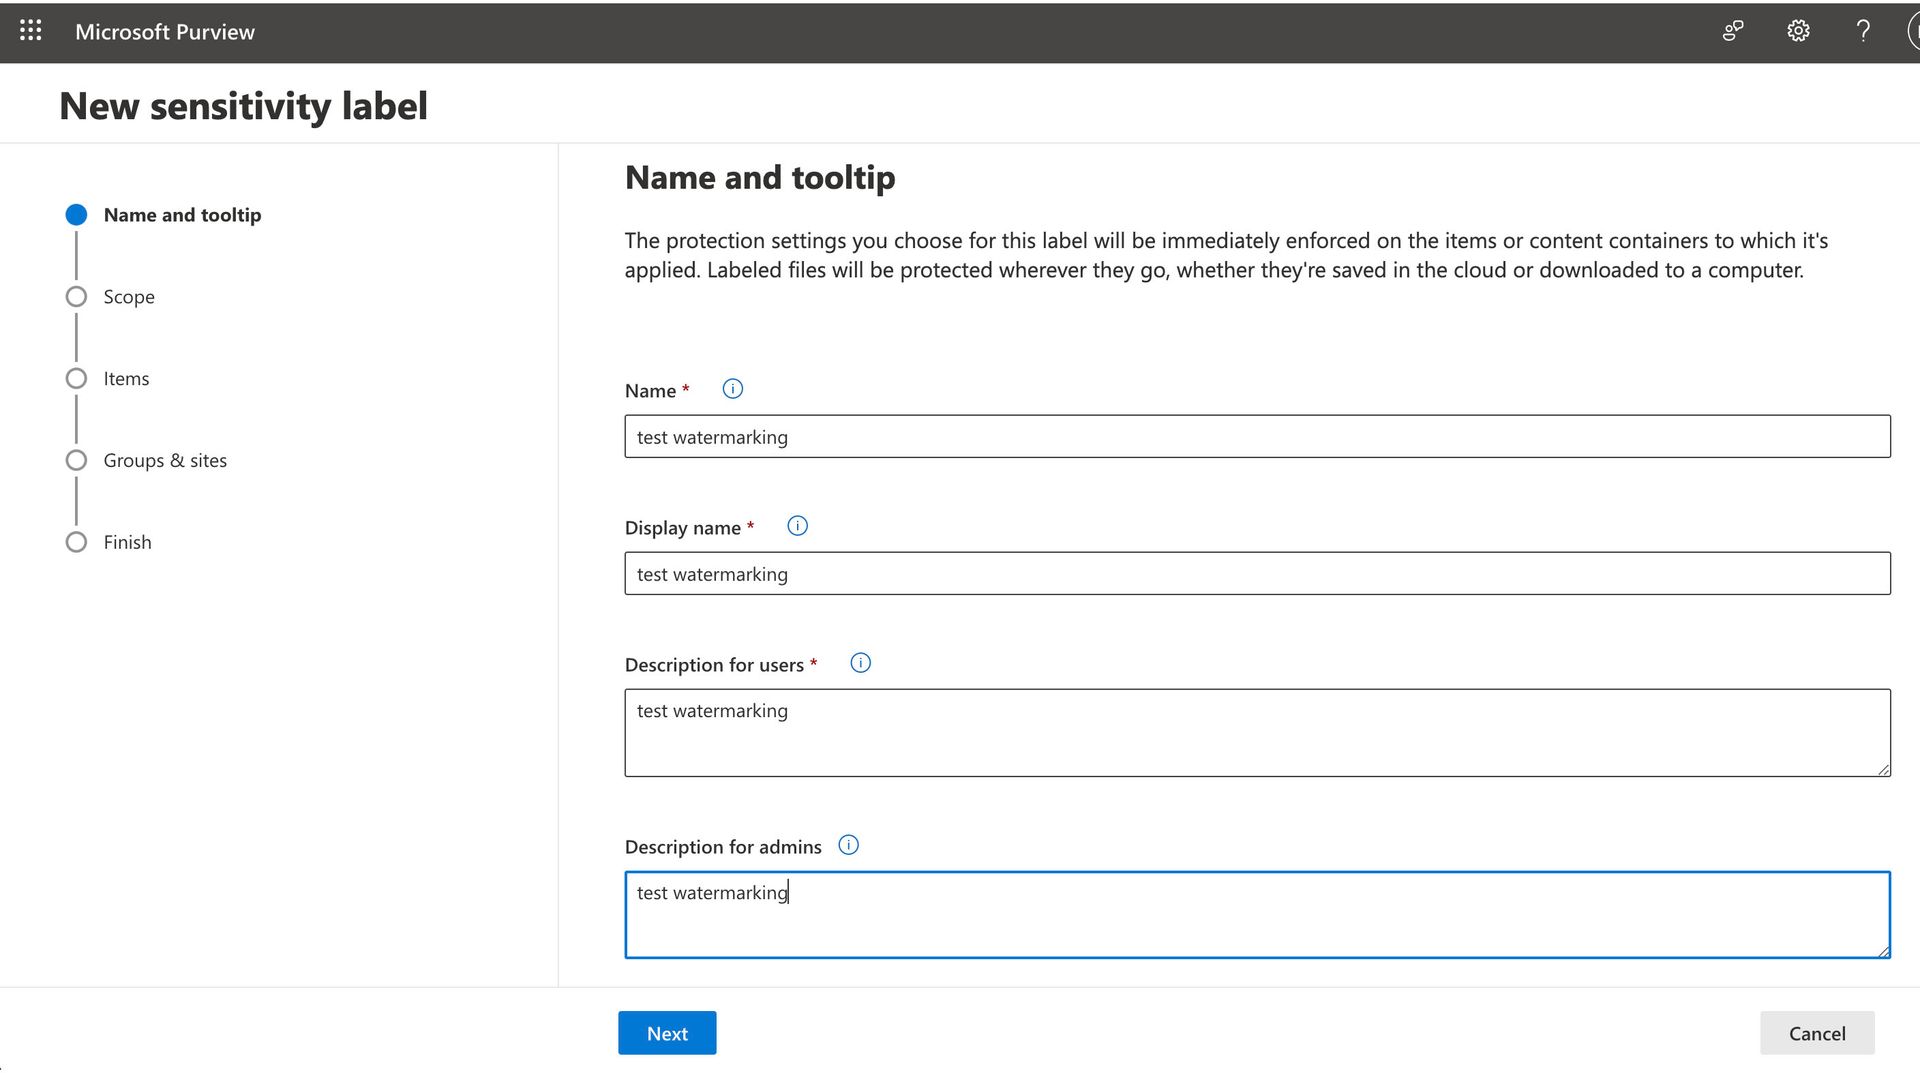
First, go to compliance.microsoft.com->Information Protection->Labels and click "create a label". Then, enter the name and associate information.
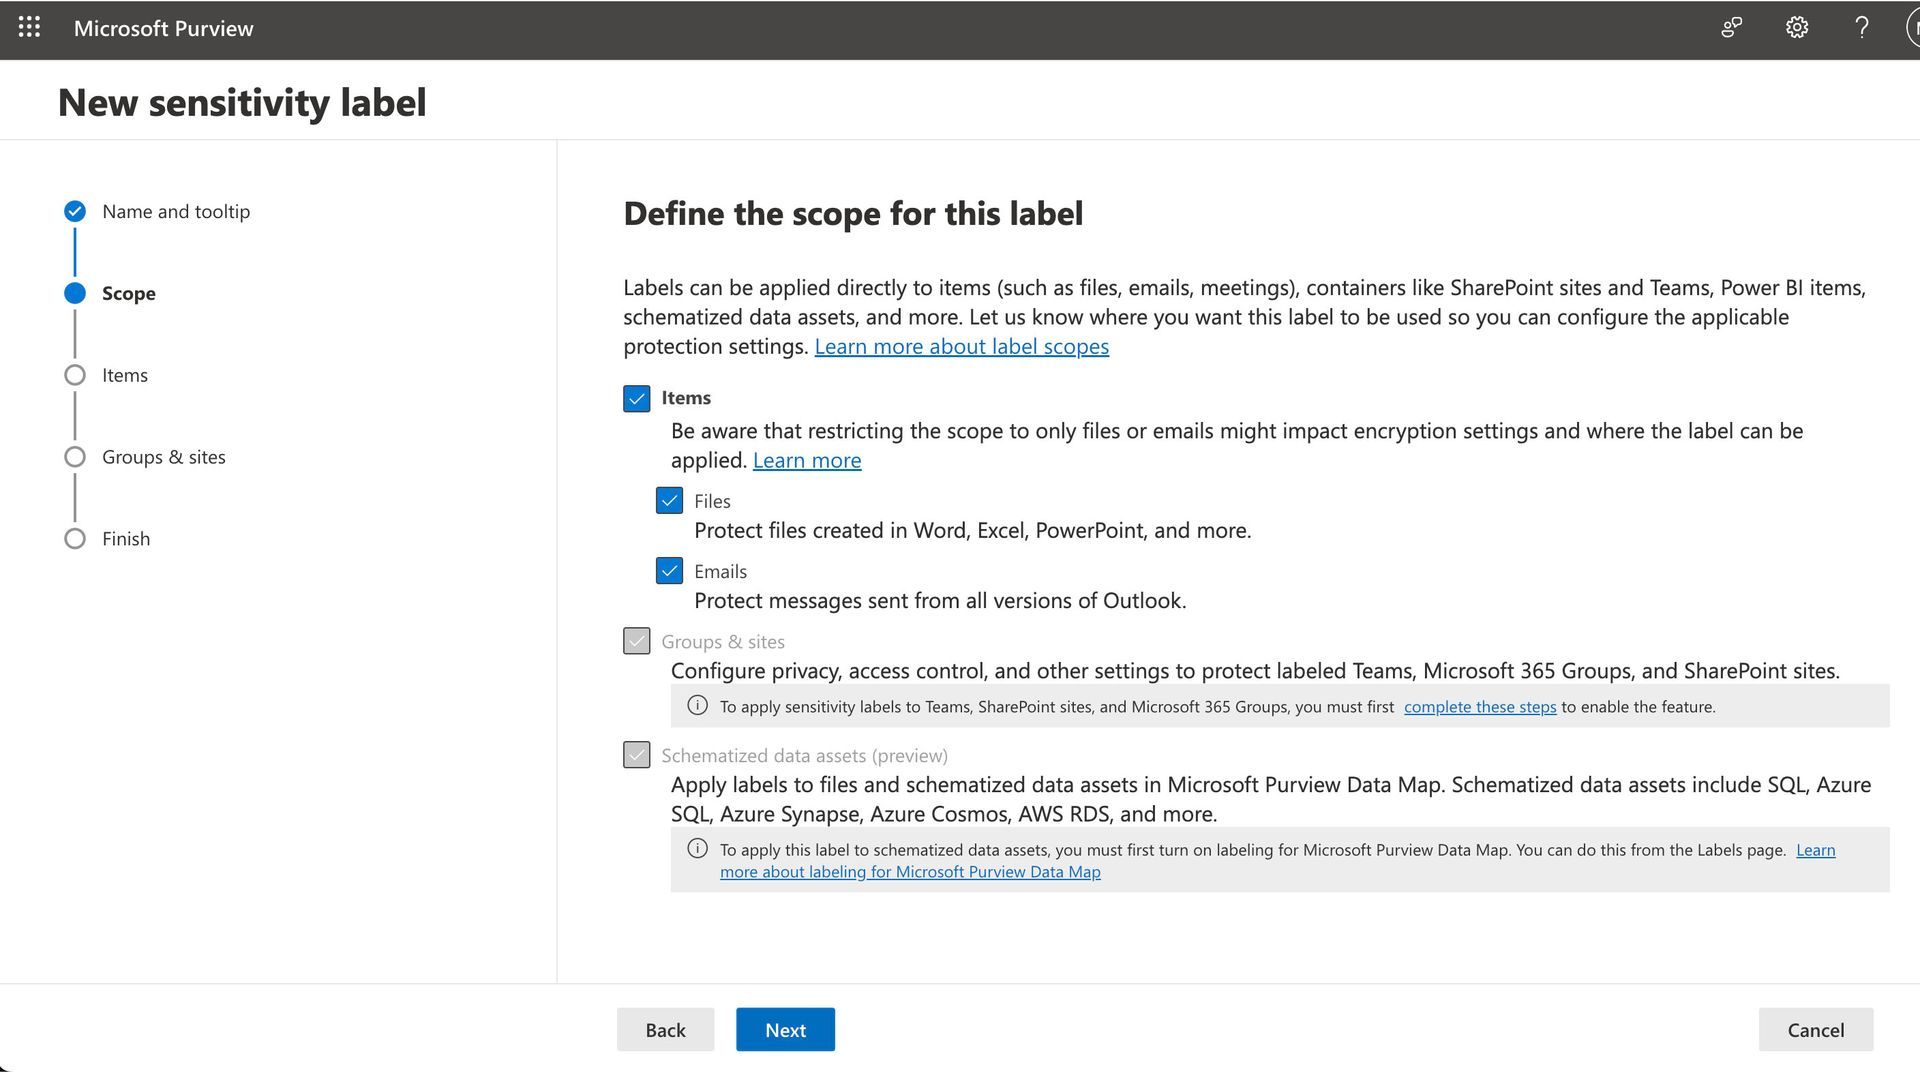
Then, update the scope info and click "Next"
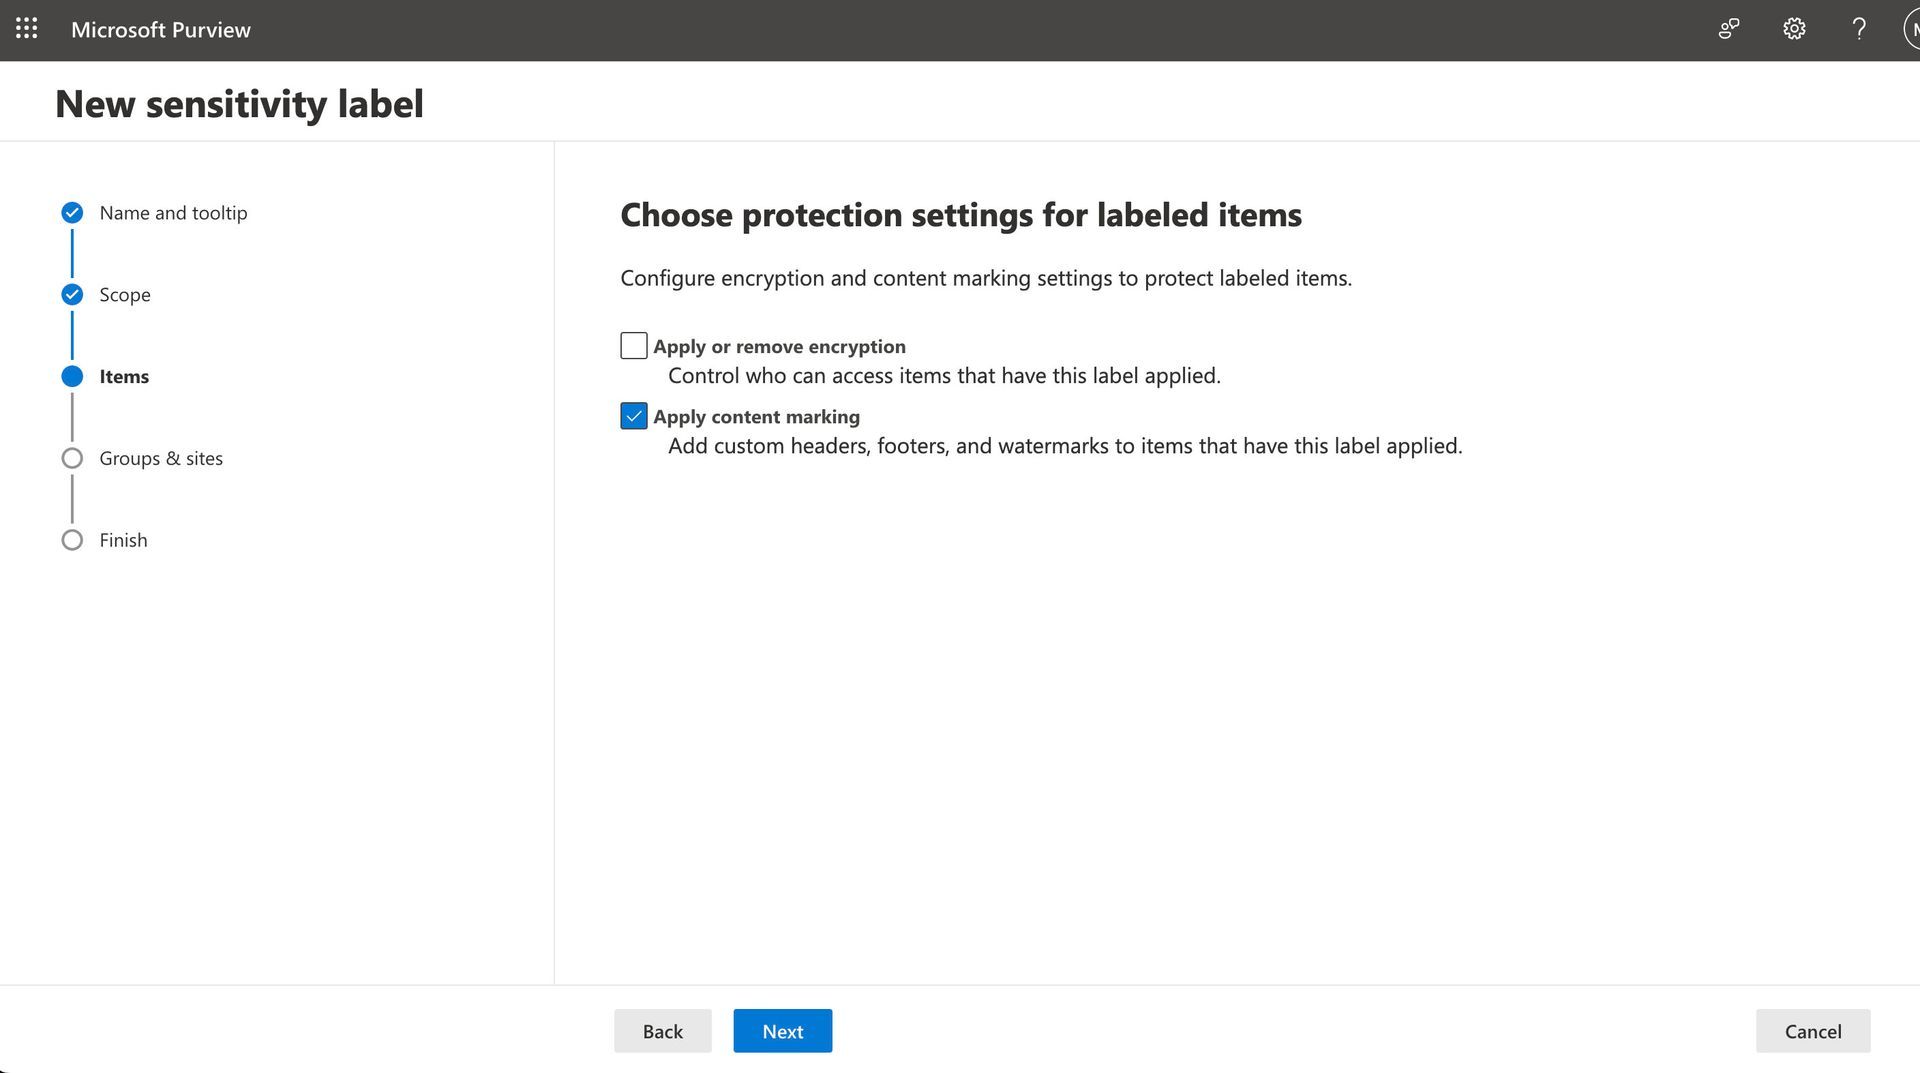
Then, click "Apply content marking" and click "Next"
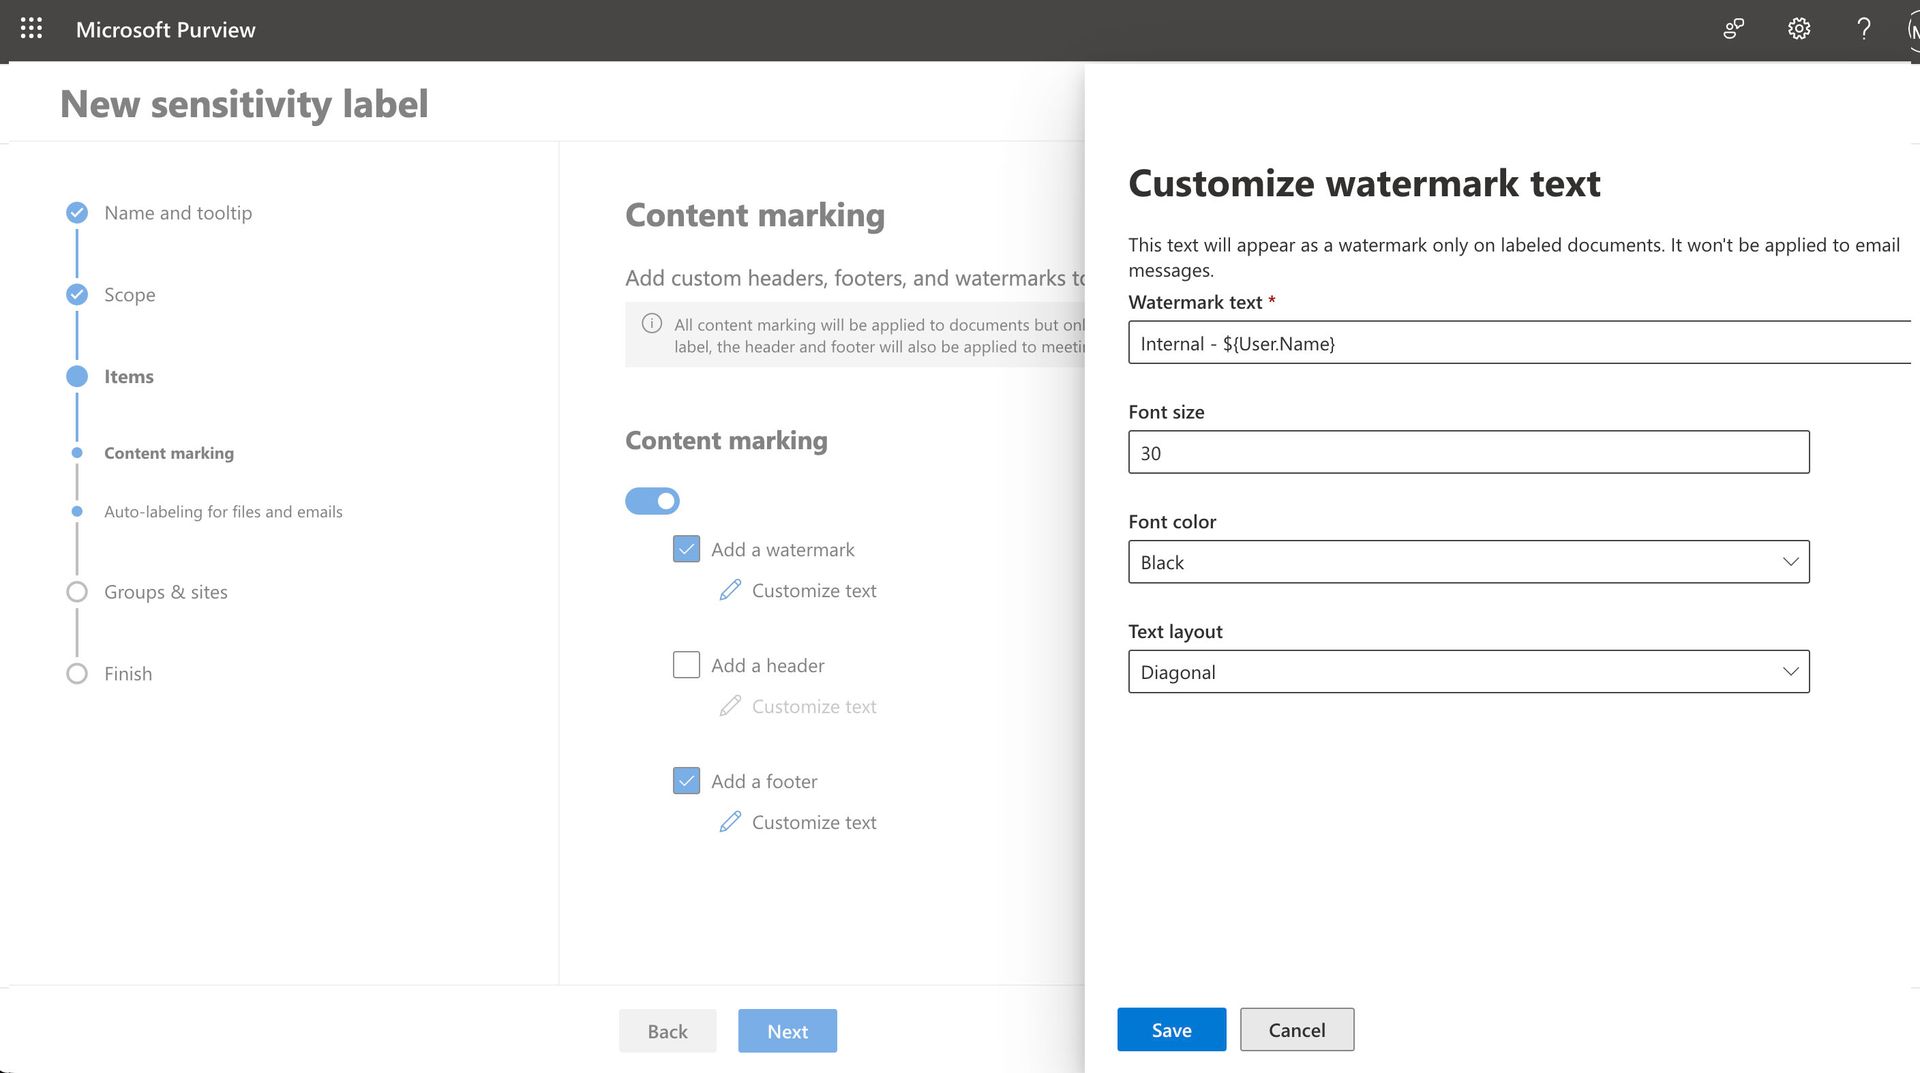
In Content marking section, select "Add a watermark" and click "Customize text".

From the 'Customize watermark text' section, you can enter the content that you would like to display in the document.
Save it, update additional text if needed and click "Next".
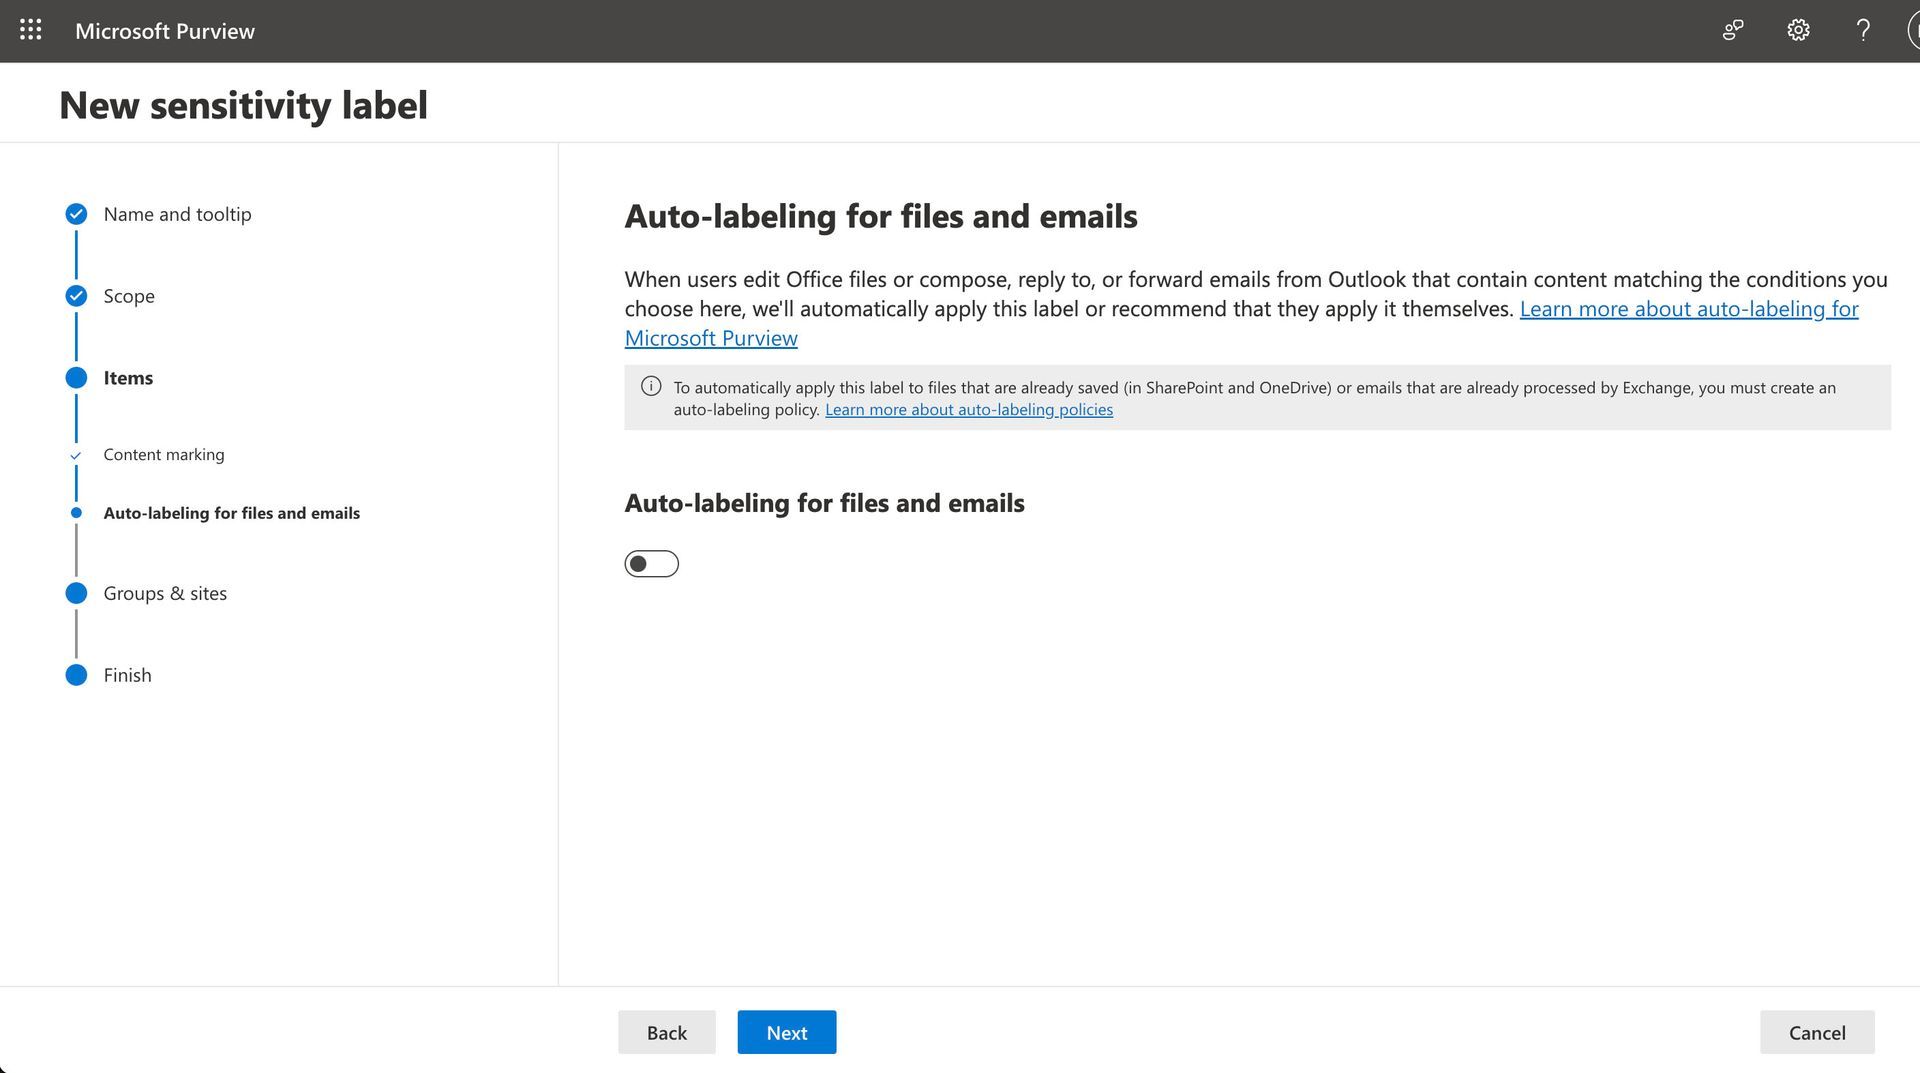
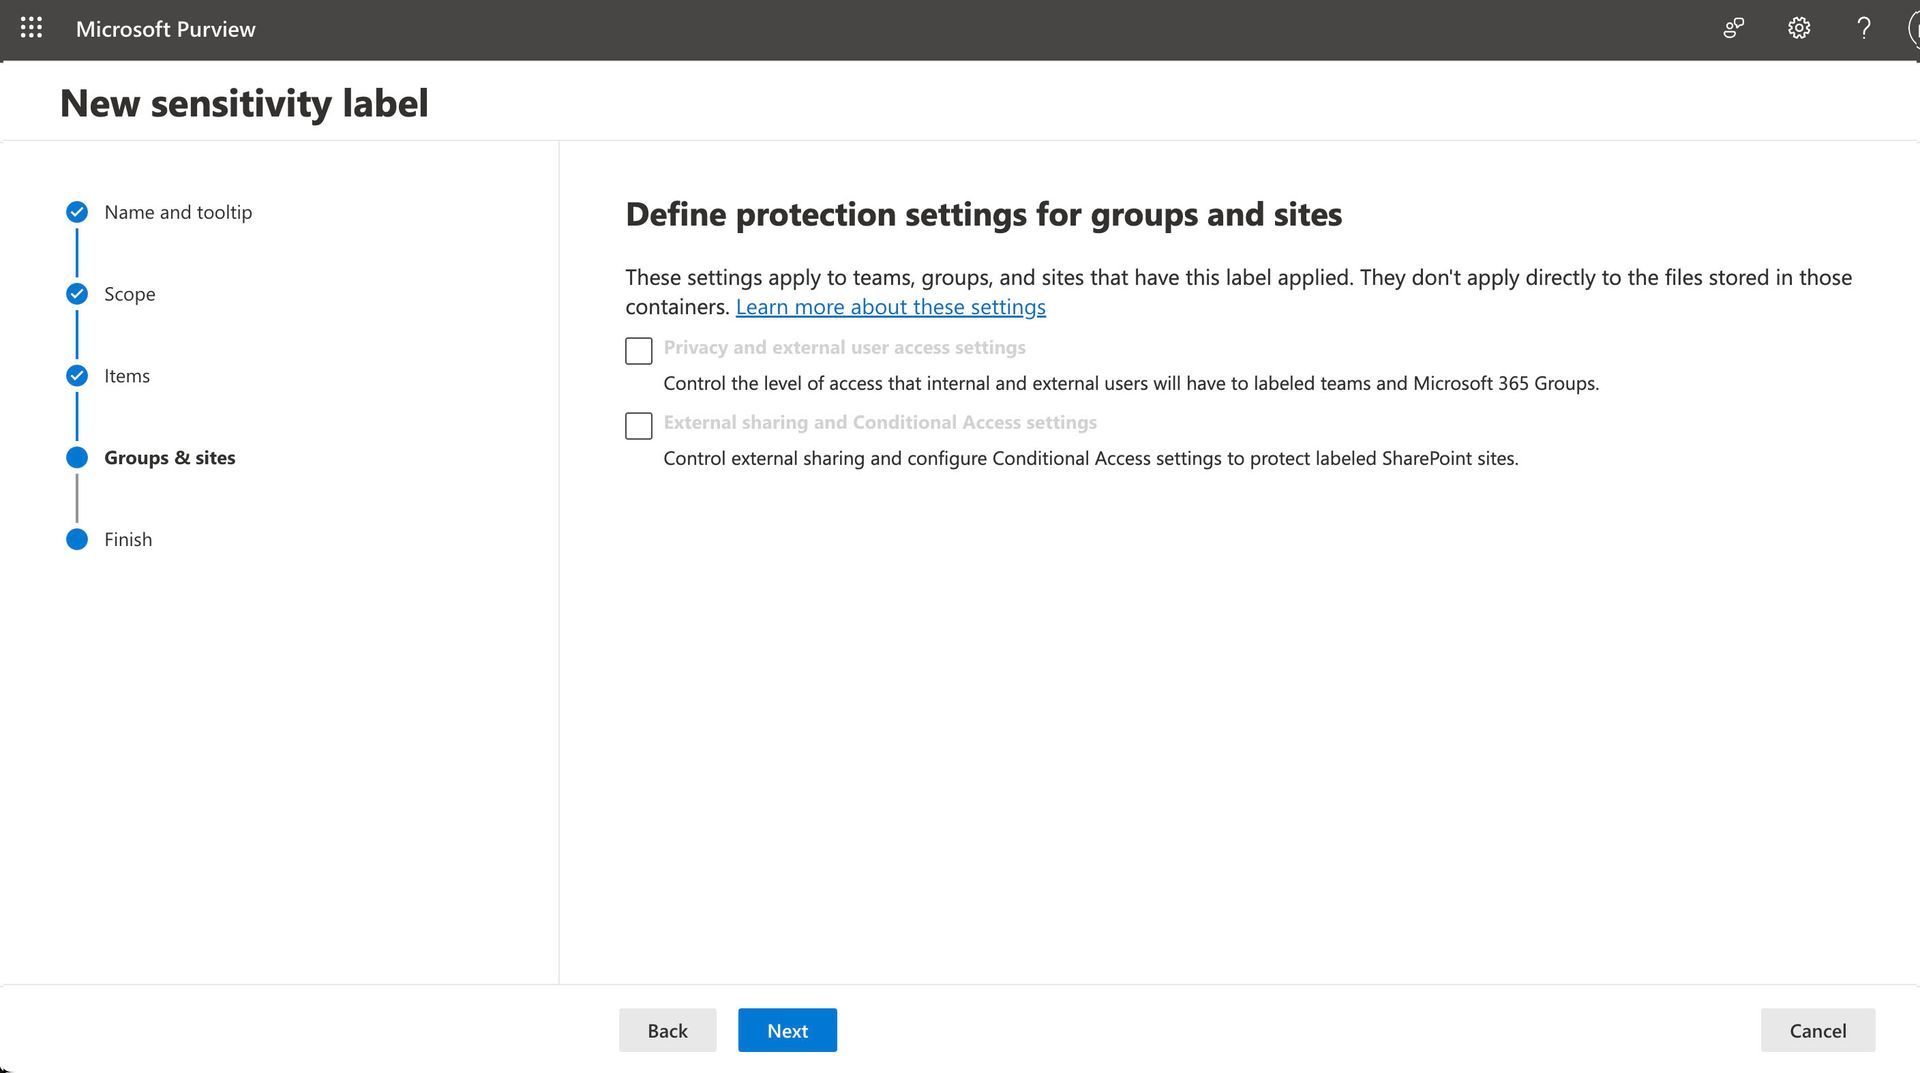
From the auto-labeling section onward, click 'Next' until the label is created if no changes are needed.
Review the settings and do the final check before you create the label.
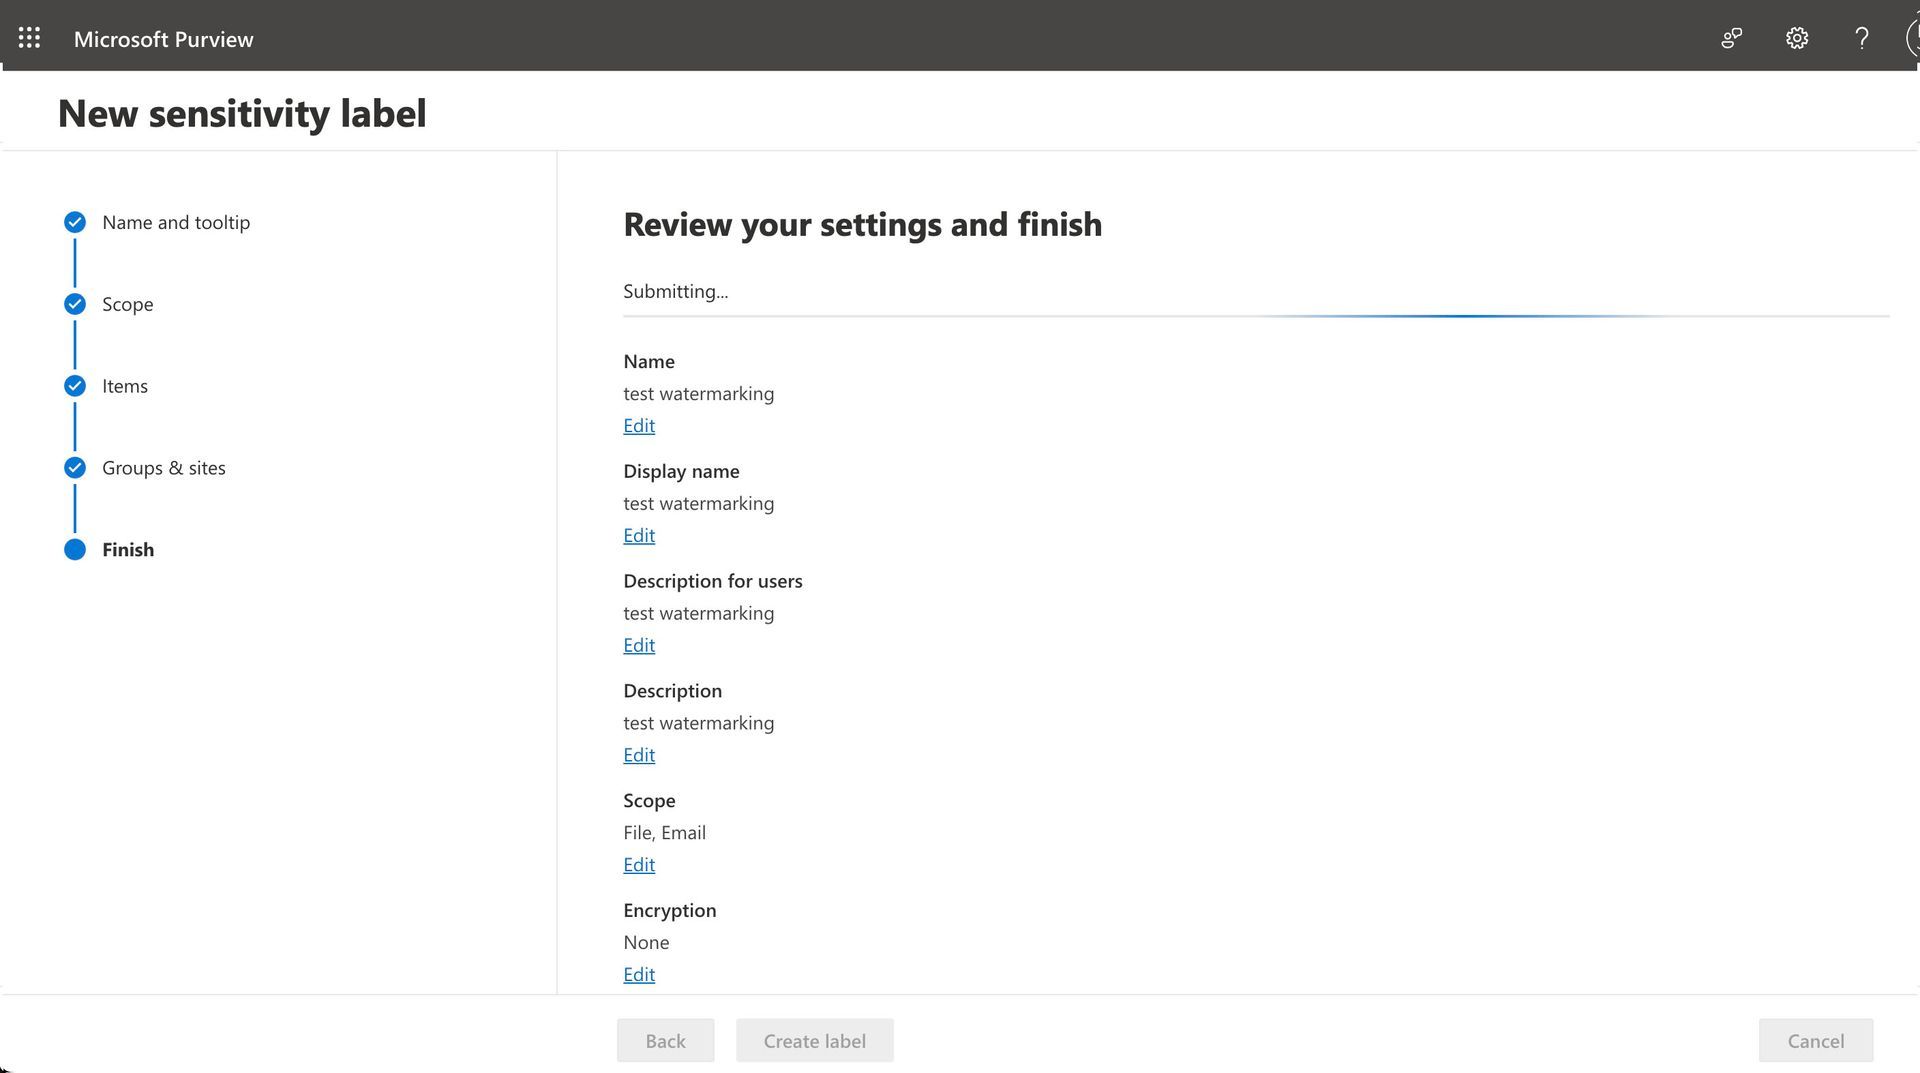
The label is now created successfully.

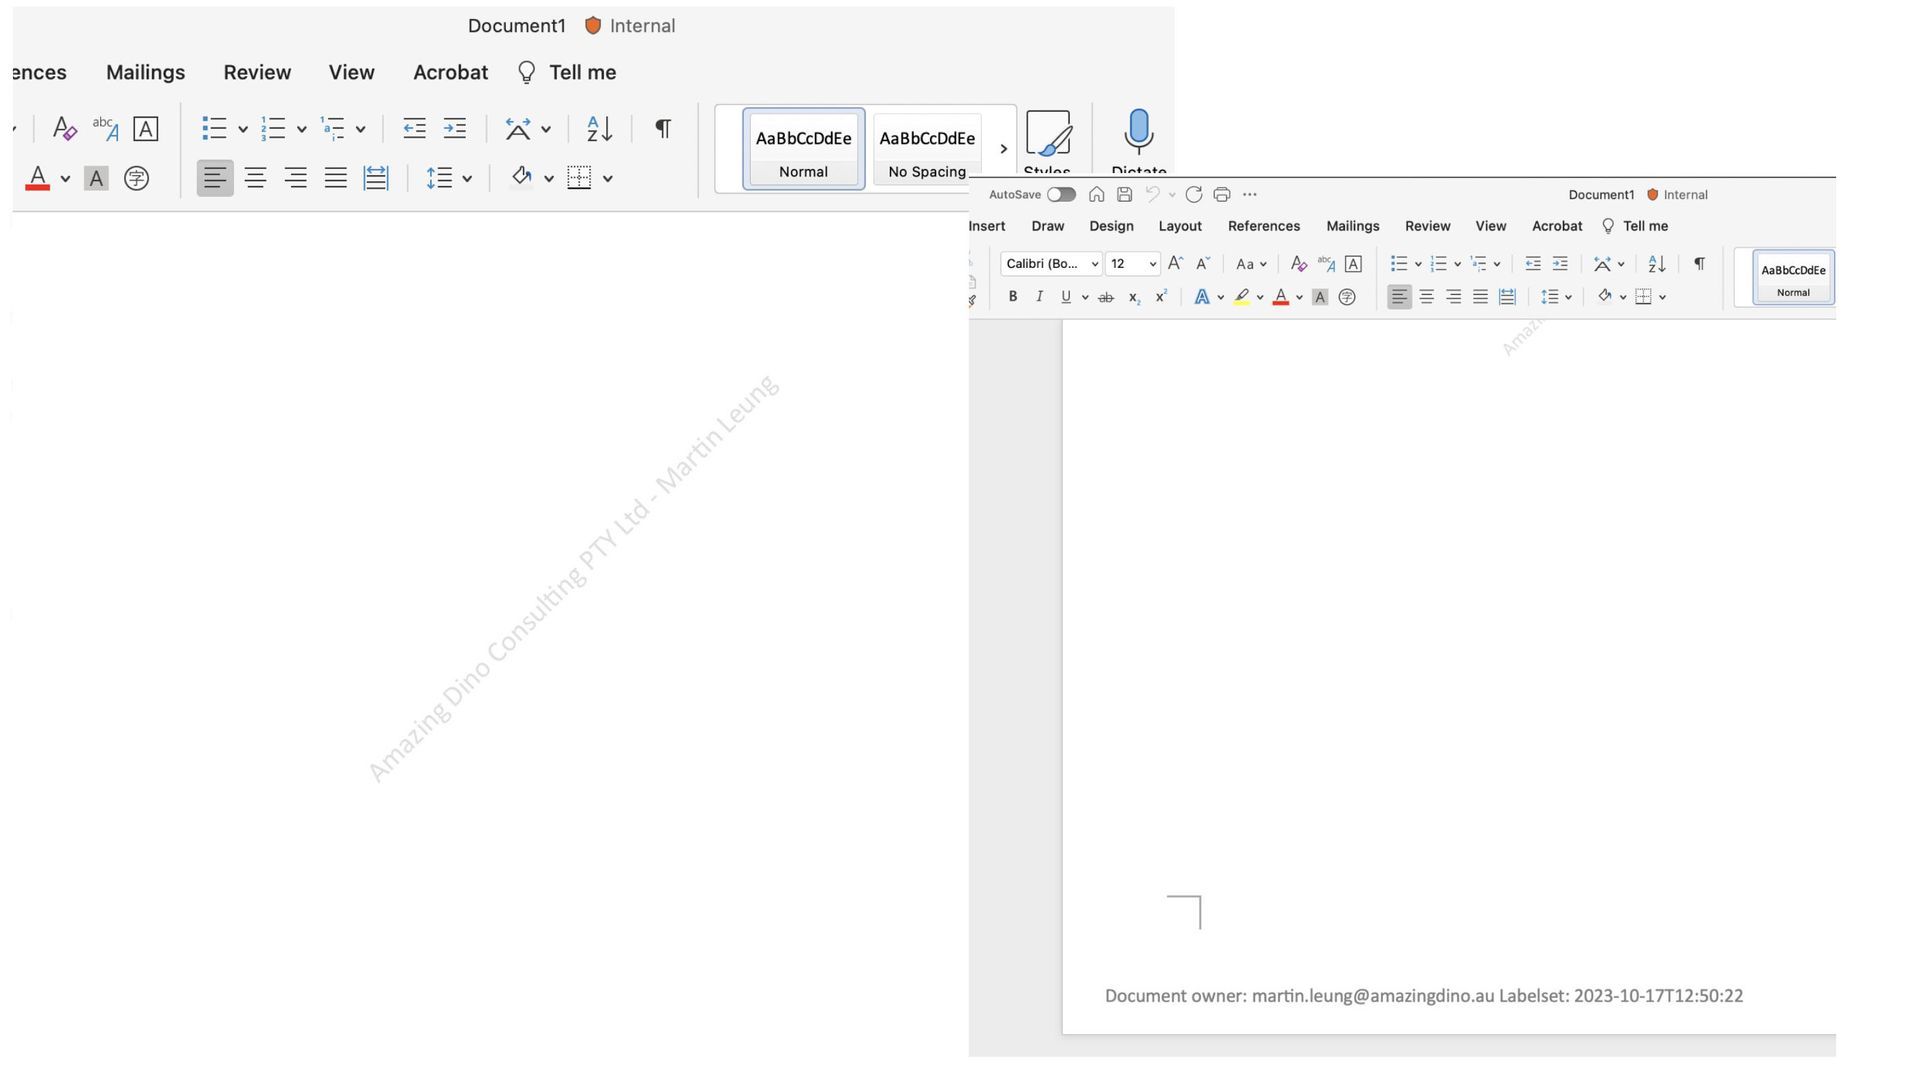
You can now publish the label and apply it to your M365 tenant. Here is the screenshot used in my environment.
Limitation on the dynamic content
If you want to apply content and display the viewer's name, it is not possible without third-party software."
Final Thoughts
Dynamic content marking in MIP empowers organizations to automate and fine-tune their data protection strategy. By leveraging these capabilities, organizations can ensure that their documents are appropriately labeled, thus enhancing data governance and regulatory compliance.